👁️ The Rise of Red Dots & Misunderstood Co-Witnessing
With the widespread adoption of micro red dot sights (MRDS) on pistols—especially optics-ready platforms—shooters of all skill levels are transitioning from traditional irons to electronics. But with that transition comes a critical learning curve, particularly around how red dots and iron sights function independently and in concert.
One of the most common and problematic misconceptions is that you can simply align the red dot with the front sight post—even in the absence of a rear sight—and expect accurate hits. This flawed concept leads to what we call an “Attempted Co-Witness”, and it’s a recipe for disaster in both training and real-world scenarios.
What Is Co-Witnessing (Properly Defined)?
Co-witnessing refers to aligning your red dot optic and iron sights so that both can be seen and used simultaneously in the same sight picture. It’s primarily a backup strategy, not a primary aiming method.
There are two main types:
- Absolute Co-Witness: Iron sights align perfectly with the dot—they sit on the same vertical optical plane.
- Lower 1/3 Co-Witness: Iron sights are visible in the lower third of the window, allowing a clearer dot view.
The goal of co-witnessing is redundancy—not alignment.
“If I can see the red dot on top of the front sight post, it must be accurate.”
This is completely false.
🔬 What’s Happening Physically: The Geometry of Misalignment
Let’s break down the sight paths and ballistic implications using real-world mechanics.
Bore Axis
This is the centerline of the barrel—the physical path the bullet will follow as it exits the muzzle. All projectiles begin here. It is fixed and independent of any sighting system.
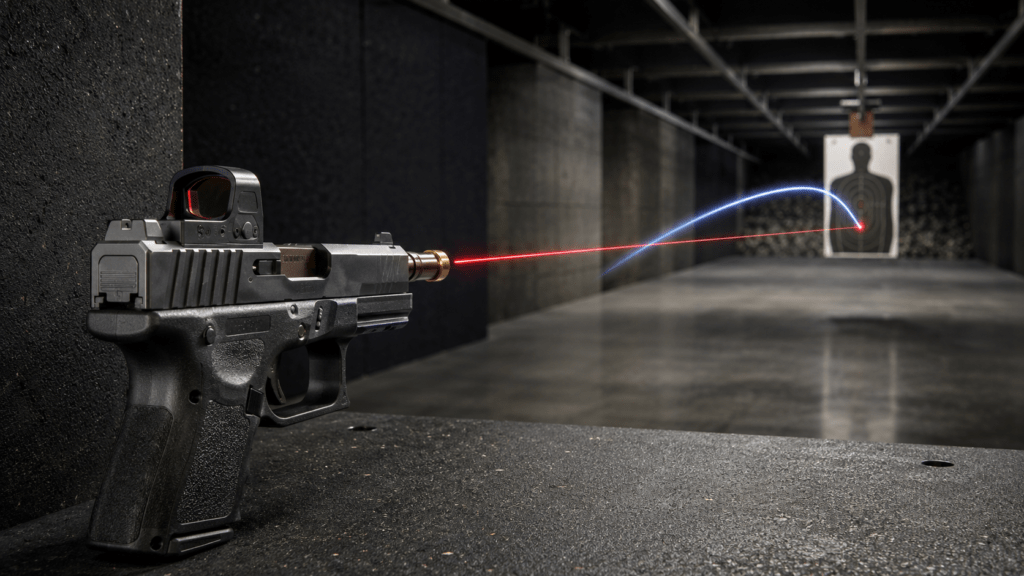
Red Dot Reticle
This is your line of aim through the red dot optic. Once zeroed, the dot is projected at a specific angle so that the bullet’s arc intersects it at a given distance (e.g., 10, 15, or 25 yards).
Front Sight Reference
In the attempted co-witness configuration, the front sight is used alone, with no rear sight to create a proper notch-post alignment. The front post now appears inside the red dot window, but there’s no rear reference to validate it. The shooter tries to “line up” the red dot with the front post, mistakenly thinking this replicates a zero.
But this “line” represents a completely different sight path.
🎯 Where It All Goes Wrong
Trying to align the (optic) and (front sight) lines causes the shooter to tilt the muzzle downward slightly, because the optic and front sight are not mounted at the same height and angle. This manipulation unintentionally causes the bore to point much higher than it should.
As a result:
- The bullet’s path now intersects with the (dot aim) just inches from the muzzle.
- The bullet then continues rising in relation to the dot’s aim point.
- At even short distances—10 yards or less—the bullet can strike multiple inches high.
This elevation error increases with distance, because the bore is no longer angled correctly for your desired zero.
⚠️ Real-World Consequences
Let’s say you’re running a Walther PDP, Glock 19 MOS, or SIG P320 with a Trijicon RMR or Swampfox Justice. You remove the rear sight and mount your optic. You then try to align the red dot with the front post—perhaps because you’ve seen it done in movies or online videos.
At the range:
- You aim for the A-zone at 10 yards.
- Your shots land 3–5 inches high, consistently.
- You adjust your grip or dot, but it doesn’t help.
- You now believe your red dot is defective or misaligned.
In a defensive encounter:
- You aim center mass at a target 7 yards away.
- You unintentionally land shots high—potentially striking unintended areas like the neck or face.
- In a crowded environment, this misalignment could be catastrophic.
📏 Mathematical Context: Example Zeroing
Let’s add numbers for visualization.
Assume:
- Dot sits 0.9” above bore.
- Front sight sits 0.6” above bore.
- You “align” dot with front post—tilting pistol downward.
- Bore is now angled upward by 1–2 MOA or more.
At 10 yards:
- 1 MOA ≈ 1” per 100 yards → ~0.1” at 10 yards.
- 2 degrees upward = ~3.5” rise at 10 yards.
Your bullet impacts significantly above your point of aim, and the deviation increases at longer distances.
✅ Proper Red Dot Zeroing Procedure
Here’s how to avoid this pitfall:
- Ignore the front sight completely when zeroing the red dot.
- Use a consistent distance (10 or 15 yards for pistols is common).
- From a rest or solid stance, fire 3–5 shot groups using only the dot.
- Adjust windage/elevation using manufacturer specs.
- Confirm groups repeatedly until hits are centered.
Optional: If you install suppressor-height iron sights for co-witness, use them as backups only, not for zeroing the dot.
🔚 Final Thoughts: Don’t “Eyeball” a Zero
Attempting to co-witness a red dot with the front sight alone—especially after removing the rear sight—is not just poor form, it’s mechanically flawed. Understanding sight geometry, line of sight vs. line of bore, and the independence of sighting systems is essential for accuracy and safe firearm use.
🔴 Trust your dot.
📐 Zero it properly.
🔧 Keep your systems independent but functional.
And if you’re going to co-witness—do it right, or don’t do it at all.